Skip to product information
Garage Storage Labels

Garage Storage Labels

$13.95
Description

You ask, we deliver!

Inspired by our ever-popular toy storage labels and a recent collaboration with The OCD by Christine, these labels are here to save you from the dark and messy cave that is your garage.

From BBQ stuff to Christmas lights, let’s get your garage as organised as your pantry.

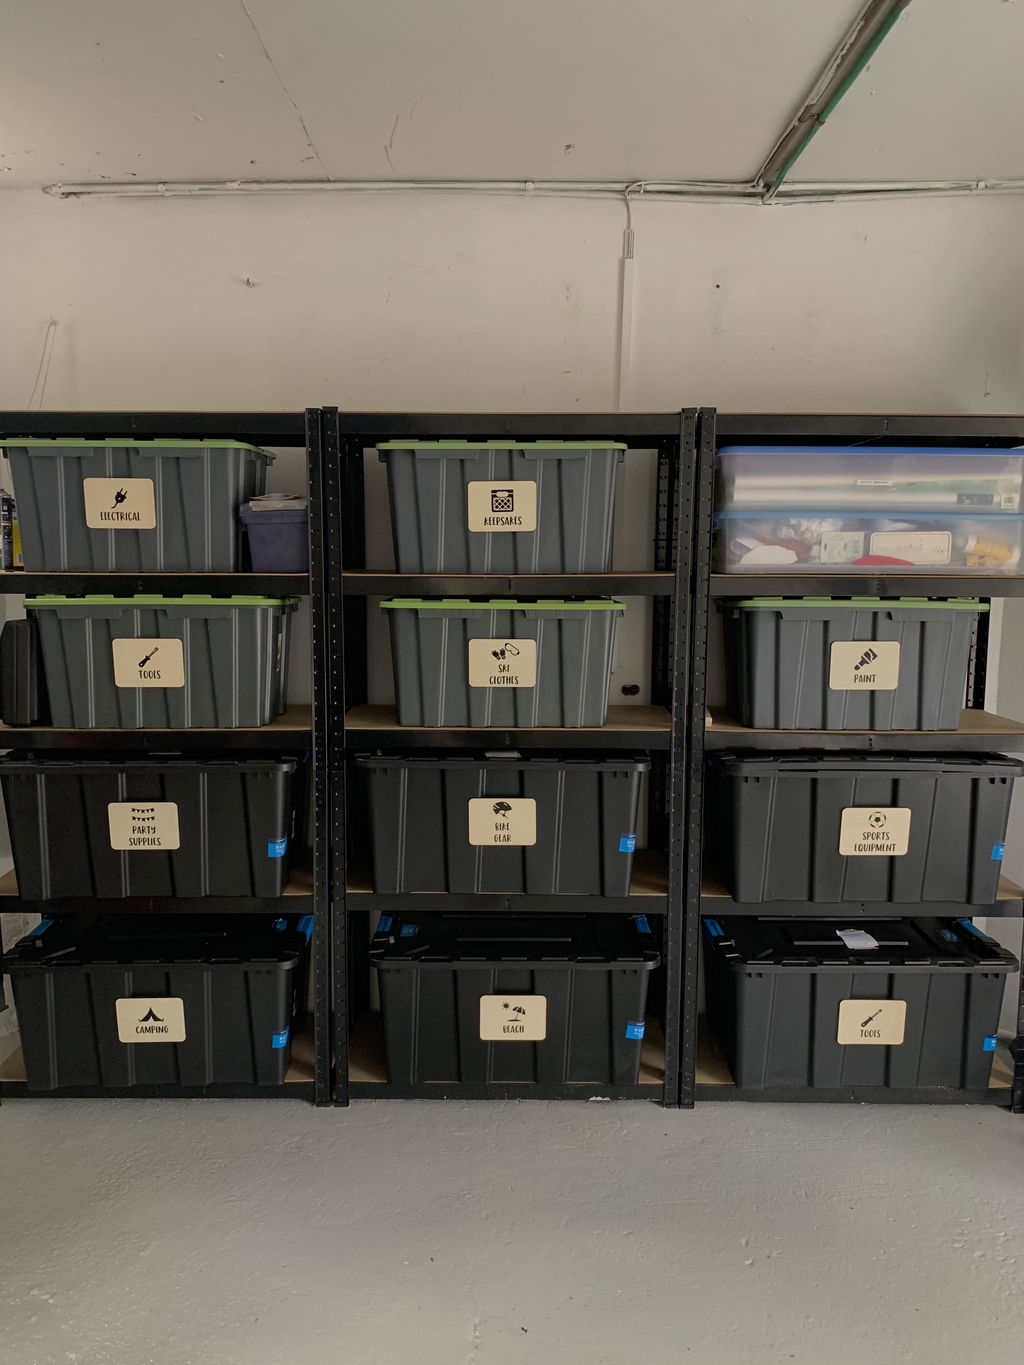
Each label is printed with a silhouette-style illustration of the items to be stored, and they’re available with or without the border.

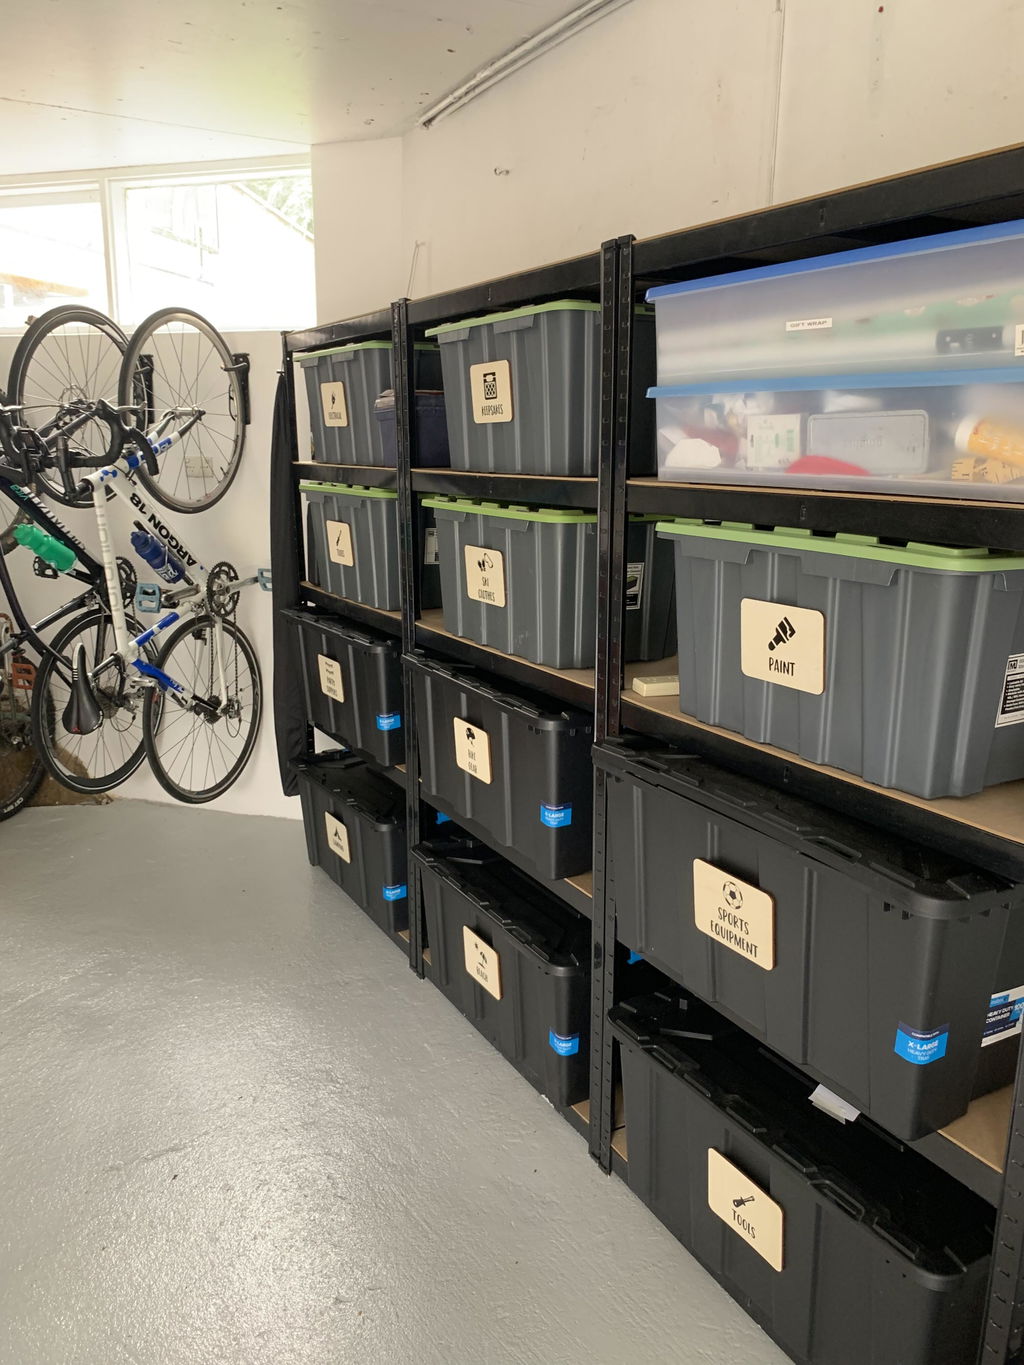
These labels are pre-designed with the items shown in the photo, or you can provide a custom list in the ‘notes’ field.

*Please note some of these labels were made smaller to suit the tubs. If you require different measurements please leave a note in the notes to seller box.

Features:

  • Without Border vinyl label measures - 12.5cm W x 14cm H 
  • With Border vinyl label measures - 20cm W x 20cm H 
  • Pre-designed images (can also be customised)
  • Available with or without a border
  • Black font colour
What's Included
Shipping

Processing Times

Most standard orders dispatch within 3 business days, while orders with custom labels are made to order and may take up to 2 weeks to leave our warehouse.

Shipping

All orders are sent Australia-wide with tracked shipping from $8.95. Please allow up to 10 business days for delivery after dispatch, as delays may occur. We don’t currently ship internationally, and PO Box addresses aren’t accepted.

Please read more here. 

Reviews
FAQ

We've also compiled a list of frequently asked questions to make your ordering process as smooth as possible which you can view here. Should you need further information, feel free to email us or call during our office hours, Monday to Friday, 9 am - 5 pm AWST on 0473 533 909.

How To Apply

STEP 1: CLEAN THE SURFACE

Clean the surface with rubbing alcohol or warm soapy water and allow it to dry completely. Do not use Windex or other glass cleaners, as they can leave a residue that prevents the decal from sticking properly.

Applying to one of our wooden surfaces? Skip this step.

STEP 2: PREPARE THE DECAL

Before removing the backing, firmly rub over the entire decal with a credit card or squeegee. This helps the decal adhere to the transfer tape and removes any air bubbles.

STEP 3: REMOVE THE BACKING

Slowly peel away the white paper backing. If any part of the decal stays on the backing paper, lay it back down, rub firmly again, and try peeling once more.

STEP 4: APPLY THE DECAL

Carefully position the decal on your surface. Starting from one side, smooth it down with a credit card, working across the decal
to remove any air bubbles. For best results, leave the transfer tape in place for 24 hours before removing it.

STEP 5: REMOVE THE TRANSFER TAPE

Slowly peel the clear transfer tape away at an angle. If any part of the decal lifts, stop immediately, press it back down firmly, wait a little longer if possible, and try again.

You may also like